For years we worked with the space we had. We started homeschooling in a two bedroom apartment, then a two bedroom duplex, which fortunately had more storage space than our apartment, but still no formal homeschool space. At our current house I envisioned using the dining room for our homeschool space, but quickly realized that the lack of any full wall to use for storage, and the desire to have the dining space for company, that it wouldn’t work once I have multiple kids doing school.
I finally succumbed to using a bedroom as our homeschool space, and I couldn’t be happier, mashaAllah! And alhamdulilah, last year I was able to totally outfit the room so we had storage and seating space for all of us.
I’d like to quickly mention that this room never actually looks this clean. Ever. We use it every day, and while I try to make sure it is kept generally tidy, it looks lived in. Don’t be fooled by staged pictures.
Unless otherwise mentioned and/or linked, all the furniture is from IKEA.
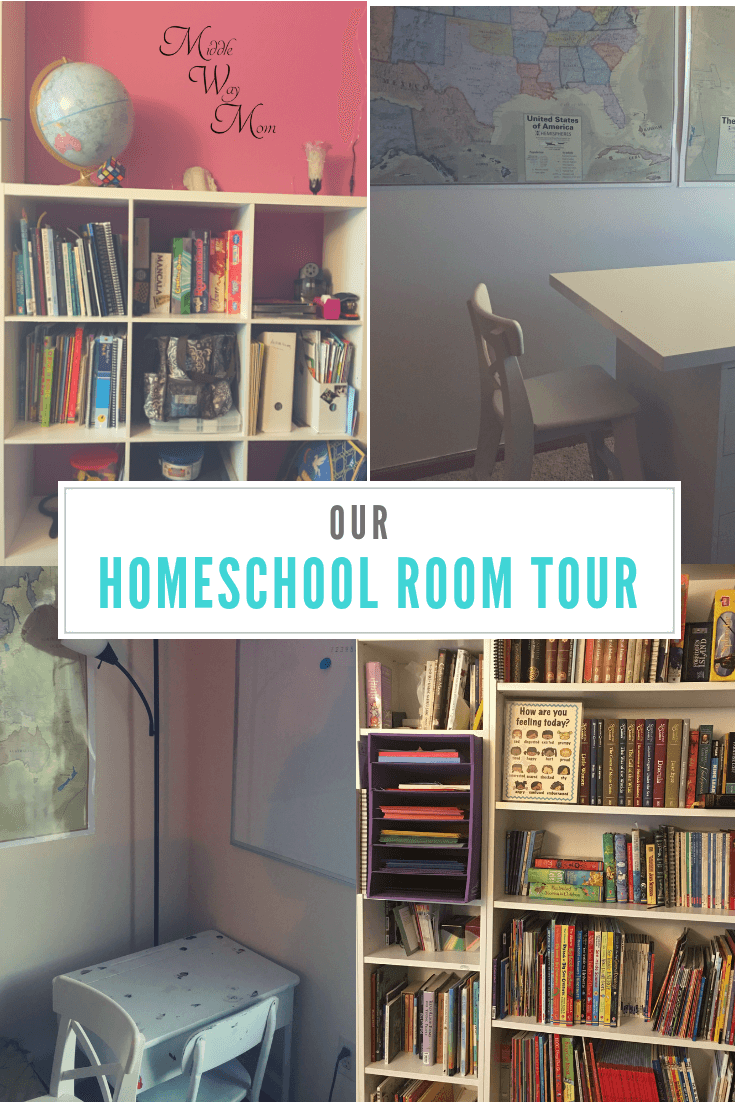
Our homeschool room tour
Right when you walk in, you’ll find our library box, and the space for each of my kids to present their work that they are currently most proud of. The clips are courtesy of 3M command clips.

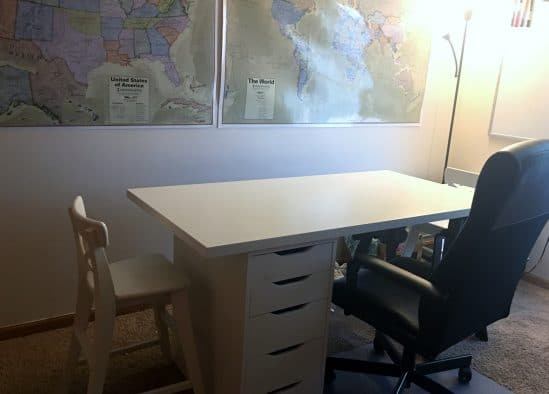
For our seating area, I bought myself an office chair, and for the kids I bought two junior chairs and one stool. I got one stool because for one, the junior chairs are a little pricey, but I also figured once all three of them are doing school at the table, at least one of them would probably be outgrowing the junior chair. When that time comes, I probably will get something a little more comfortable than the stool, but for now the stool works great.
A big focal point in the room are the two maps, purchased from Costco, and mounted on the wall with 3M command strips (the ones used for mounting picture frames). I’ve been amazed at how aware we are of geography just by sitting and staring at the map when we’re bored, and how often we reference it in our lessons.
The table is one of my favorite pieces in the room. I was able to choose the size and color of the table top, and pick the supports separately. I chose one side to be a black, A-frame support, and the other to be a set of drawers.
The set of drawers are organized as follows:
Top: Includes a drawer organizer found in the kitchen section and houses pencils, pens, the “school crayons” (that do not leave the school room and are only used for school work. The kids have a box of play crayons that I don’t keep tabs on, but this way we always have crayons for school), erasers, scissors, and other small everyday items.
Second: Charlotte Mason plannerand my paper planner are kept here, along with my Kindle Fire that I have loaded with various school books, and we use it from time to time to watch a YouTube video for school.
Third: All our math books are kept here. They are large and with the spiral binding, plus cardstock cover, they don’t keep well in a bookshelf unless it’s fully supported.
Fourth: We keep all our partially used paper in this drawer for later use. This is very useful for art projects, or scratch paper. I also typically have a knitting or crochet project in this drawer that I work on while a child is reading or doing their math work.
Fifth: All my notebooks for my own classes are kept in the bottom drawer. Similar to the math books, notebooks typically don’t stand well in a bookshelf, so they are kept here.
On to the shelves!
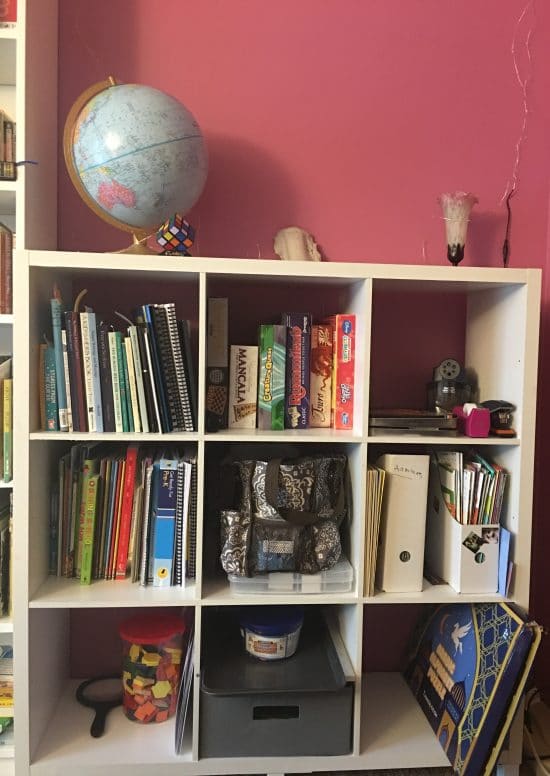
I bought a 3×3 cube organizer from Target as IKEA didn’t have 3×3, and anything else just didn’t fit the space as neatly as this does.
Here’s how this is organized:
First row, from left to right: The books we use each week are kept here, within easy reach from where I sit at the table; games; pencil sharpener, tape, colored pencils, markers
Second row, from left to right: Preschool books like plastic organizer, activity books, plastic organizer, and other things that my younger two kids can grab and use quietly while we do our lessons; plastic organizer for math cards, and bag that includes loose math materials like tally sticks, centimeter cubes, tiles, geometric solids, etc.; Zoobooks and High Five magazines
Bottom row, from left to right: Pattern sheets for blocks and tangrams, blocks; drawer has do-a-dot markers and books, shelf has magnets to create letters (or anything else they dream up) and a cookie sheet to use the magnets on; Arabic alphabet puzzle by Thinkernation.
From here the organization gets a little more loose
I’ve organized the two main bookshelves loosely into free-reads and reference/curriculum books. Of course, there are many books that fall a bit into both categories, and sometimes I fudged the category for sake of space, but that’s the general idea.
In the free-read bookshelf, it is organized from youngest to oldest, from bottom to top, following the advice given from what I learned about Thomas Jefferson Education. As the kids get older, we’ll move stuff down a shelf and make more space for the oldest group. In the free-read shelf is a mix of fiction and non-fiction, including Thomas Jefferson Education, Magic School Bus, and lots of Lets Read and Find Out science books.
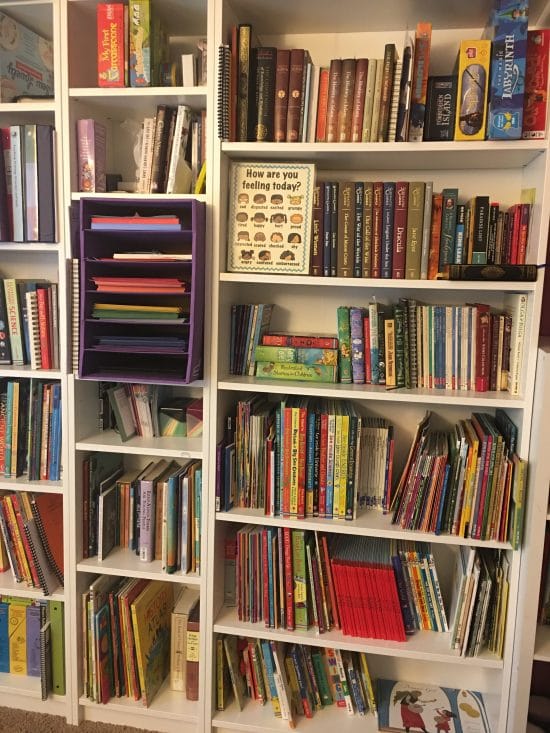
In the reference/curriculum shelf, it is ordered by subject, with phonics and readers at the bottom, and my personal free reads at the top (my personal books are swapped in these shelves basically because of space constraints).
The middle narrow shelf has oversized books, undersized books like field guides, poetry, and all our construction paper.
On the wall next to this I have an old whiteboard leaning against the wall. When my husband’s workplace moved to a new building, they had whiteboards they were giving away. It doesn’t erase as nicely as it once did, but I have it there for the kids to use as they wish, using whiteboard crayons. Originally, the kids had their own whiteboard markers, but too often the caps were not put back on and they would dry out, so now we use whiteboard crayons and the problem is no more!
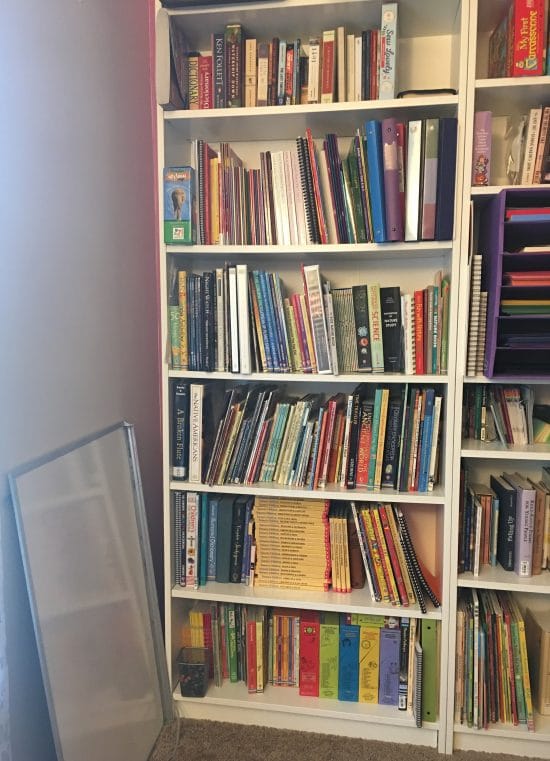
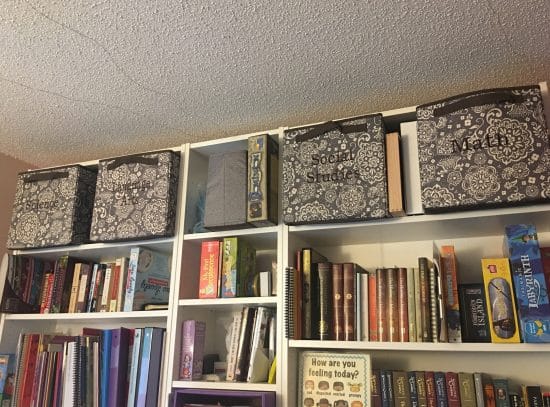
On top of all of this, we purchased the Billy bookcase extender to keep things looking tidy, and I have cubes I ordered from Thirty One Gifts with the different subjects embroidered on the front. In the cubes I have loose items like magnetic letters, magnifying glass, magnets, and more math manipulatives that we don’t yet use, or use rarely. In the middle I have a file organizer from Thirty One Gifts that I use to keep samples of the kids’ artwork that I want to keep for them when they are older.
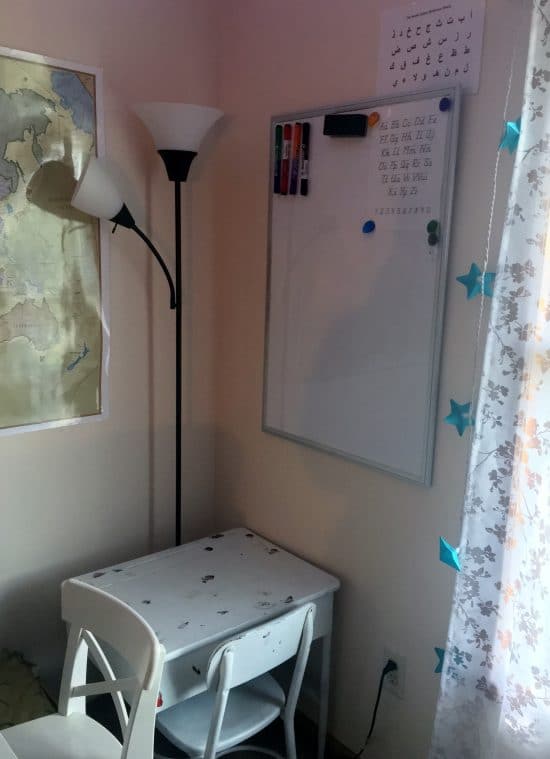
Last, but not least is the corner that includes a small desk that was actually my husband’s desk when he started homeschooling (how cute is that?!) that our youngest child now uses. It has coloring books, the play crayons (mentioned above, they are distinct from the school crayons), and play colored pencils. Above this is our magnetic whiteboard we found at Costco, and alphabet sheets the kids use for reference as they are learning printing.
Okay, last-last thing – since this is a bedroom, there is a full size closet as well. It’s not picture-worthy, but it does include a child-size dresser, with the printer on top. The dresser houses supplies like paint, oil and chalk pastels, brushes, printer ink, laminating pouches, extra pencils, and binding coils. The closet houses anything else that is hard to neatly fit into the room, or things that we don’t use that often. And since the closet has wire shelves, it actually comes in handy to dry painted art projects. At some point I might totally outfit the closet to make it as efficient and organized as possible, but for now it’s a bit of a catch-all.
Want to see other homeschool spaces? Check out iHomeschool Network’s Back to Homeschool Blog Hop! This week is all about homeschool rooms!



ma sha Allah…I really liked the shelves and neatly stalked books n supplies. inspiring…!