As you may have noticed on the blog lately, we are focusing on backyard nature study quite a bit. With three kids 5 and under, it’s exactly what we need to get out in nature, but still keep my sanity while juggling diapers, naps, snacks, and potty breaks.
Our start with backyard nature study this year started when the snow was still on the ground with tapping our silver maple! Now that we have a year under our belt, I’d love to share with you how to tap maple trees, and then make your own maple syrup!

How to tap maple trees
First things first, make sure you have all your supplies!
We received free product from Tap My Trees for the purpose of writing this tutorial and review. I was compensated for my time, and all opinions and feedback are my own.
We received the Teacher’s Kit from Tap My Trees, which includes everything you need but probably don’t have, plus lesson materials to learn about the history of tapping maple trees in North America, art project, cooking ideas, and other ideas to expand your experience. Make sure to grab this set so you have everything you need!
You can also find a starter kit on Amazon, which comes with enough supplies to tap three trees, or to tap a large tree! You will still need a drill (I used a power drill and still needed to use a little muscle since the tree was still partially frozen) and hammer of your own.
Tapping the tree is a task mainly for adults since it requires heavy tools, but bring the kids with you and they can help with some parts and ask questions along the way.

- Watch for your weather to take a turn where you have above freezing temperatures during the day, and below freezing temperatures at night. As soon as that is in the forecast, tap your tree!
- This is also a great time to talk about weather and the changes you’re seeing. Check out the resource list below!
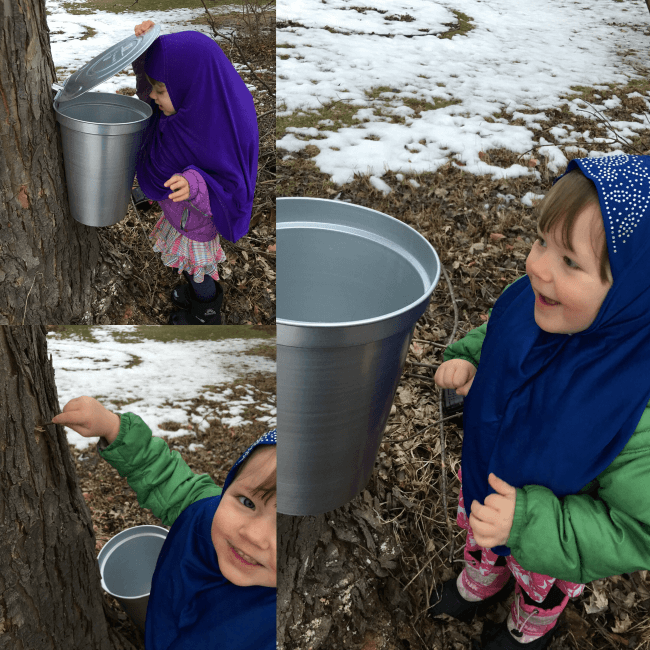
- Drill a hole on the south side of your tree, ideally above or below a large root or branch, 2-2.5 inches deep into your tree. To aid in the flow of the sap through the spile, drill at about a 10 degree upward angle.
- Attach the hook to the spile and tap the spile into the tree gently with a hammer.
- Hang the bucket from the hook, then attach the lid.
- Your sap may or may not flow right away. Don’t worry! Ours was bone dry the first day and got nearly a half gallon the next day.
- Collect sap each day and store in the refrigerator. If you won’t be using it right away, freeze it to use later.
An easy video to get you started, too:
Fun ways to use your sap
I know most people equate sap with maple syrup, but you’d be surprised how good sap can be on its own! Sap looks just like water, so you can use it any time you would use water.
- Cook dried beans in maple sap for a hint of sweet flavor with your beans.
- Use sap instead of water when making coffee. This is SO good! I don’t suggest you run it through a drip coffee maker, but if you use a kettle and let your coffee steep in a french press (my favorite way to make coffee!), you can easily swap out the water for sap!
- One thing to note is that sap will foam up as it boils, so make sure to keep an eye on it so it doesn’t boil over.
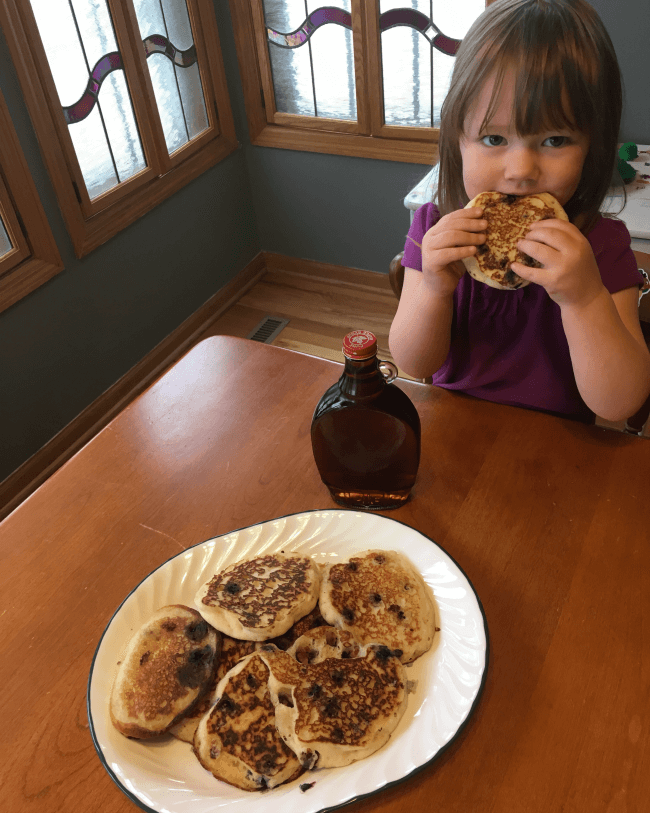
- Any recipe that calls for water, like chili, brownie mixes, pancake mixes, or the like, would be fantastic with sap.
- Last, but not least, drink it just like water. I love serving this “special water” to friends or family and have them try to guess what it is. They are always surprised that the taste is so subtle. It would also be a great drink after a day of fasting since there’s just a bit of natural sugar in it.
How to make maple syrup
Making maple syrup will take a few hours, with the last portion of it requiring consistent oversight, so make sure you’re not in a rush to go somewhere. During the initial boiling down phase, I was able to homeschool and keep an eye on the pot in the next room, so it wasn’t too hard to manage.

I only boiled down one gallon while I was making this tutorial, and now I wish I would have done two gallons because at the last stage it was hard to have enough syrup to cover the thermometer. It would have been easier to work with if I had more syrup at the end. Your typical tree will give 5+ gallons of sap each year, so having 2 gallons shouldn’t be an issue.
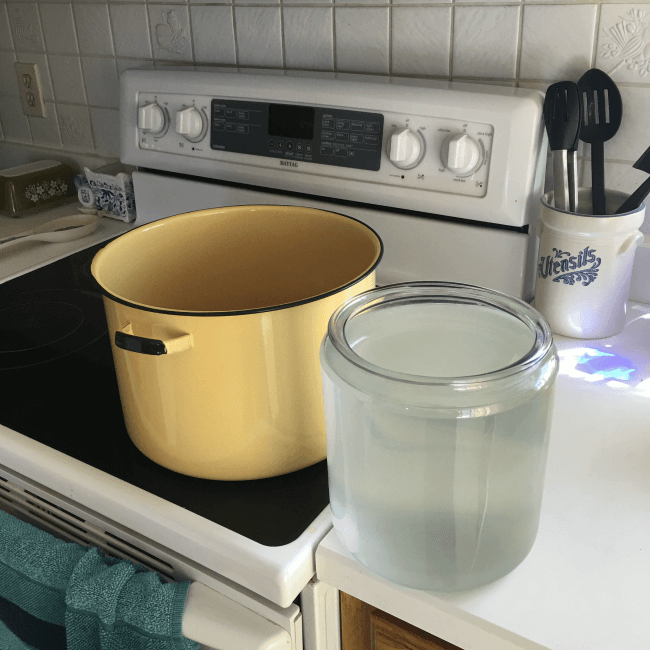
- It is generally recommended to do your initial boiling session outdoors since there is a lot of steam. Since I only boiled down one gallon, and it was a nice day, I just did everything on my stovetop and opened the windows. If you have a gas grill, that makes it very simple to do this step outside and keep the fire going at a consistent level. Otherwise, you can use a fire pit, charcoal grill, or any other outside heat source you wish. This will take a couple hours, so make sure you will be able to maintain your heat source the entire time.
- Keep watch to see if the sap starts to boil over. If it does, you can place some butter around the edge of the pot to aid in it boiling over, or turn down the temperature slightly. Once it’s going and it’s not boiling over, you can check on it every 20 minutes or so. Of course, if you have an outside fire going, do not leave it unattended.
- Once your sap boils down to about a quarter of the original volume, you can put out your fire and take your sap inside to finish the process.
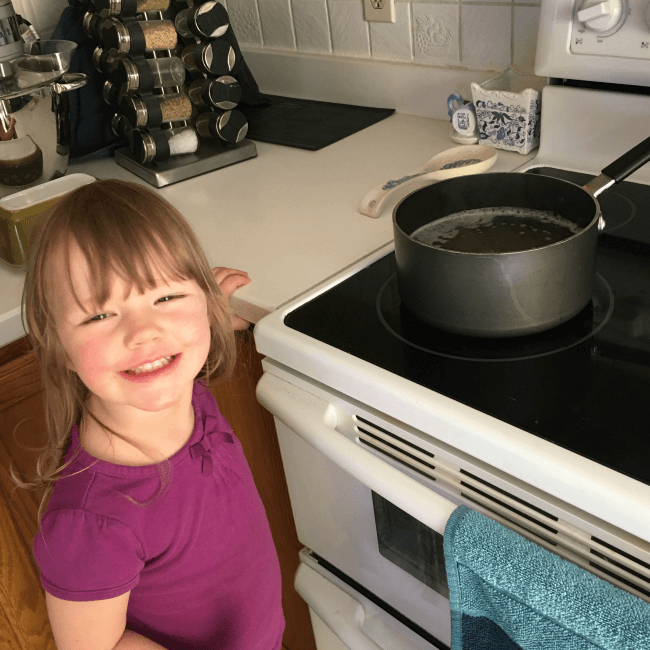
- As your sap gets closer to becoming syrup, it gets more foamy, so this is where you need to start keeping a closer eye on it!

Almost syrup! - You can use a candy or maple sugaring thermometer to keep an eye on the temperature. Sap becomes syrup at 7 degrees F above the boiling point of water, so watch for this temperature. You can also dip a spoon in and test how it falls from the spoon. When it is slightly sticky and doesn’t drip as fast as water would, it’s ready. Don’t wait for it to be an obvious change or you will have cooked it too long. If when it cools down you realize you need to cook it longer, you can always do that.
- Pour through a filter to another container to remove any sediment. I used a glass measuring cup with a spout so it would be easier to pour the syrup into the container provided in the kit.
- Enjoy!!
Tapping your tree doesn’t take much work at all, and making syrup just takes time, but it’s not a difficult task. Pick up your supplies to be ready for next tapping season!
Additional resources
Tap My Trees
Show them some love on Facebook, Twitter, Instagram, and Pinterest to stay up to date with all things tapping and maple sugaring.
- Tap My Trees is a big supporter of promoting maple sugaring in the education environment. They donate supplies to many schools looking to start a sugaring program and do a lot with nature centers that host maple sugaring events (i.e. they donate approx. 3000 spiles a year to nature centers that bring in school children to teach about maple sugaring – each child is given a spile to take home).
Weather
See Inside Weather and Climate – Interactive flap book for kids 7+
Weather and Climate Change – A more expansive book on weather
Sunshine Makes the Seasons – Part of the Read and Find Out series, talking about season changes
Maple syrup information
Full unit study (history, art, writing, etc.) from Tap My Trees
From Maple Tree to Syrup – Simple book to discuss to entire process of making maple syrup
Curious George Makes Maple Syrup – Curious George is always fun to bring in to a unit!
Maple syrup lapbook – Looks great for elementary school kids. Use all parts, or whatever suits you!
It’s Maple Syrup Time! printable unit study – Includes some fun recipes to try!
Trees (in general)
Spring Tree Study: Buds, Catkins, and Blossoms – Lots of resources to start nature study in the spring with tree observations, and talk about the changes from the winter.
Peterson First Guide to Trees – Great to bring with you on nature walks to identify trees.
Fun with Nature Take-Along Guide – Not an exhaustive resource book, but great with young kids, and has some fun activity ideas.


Wow this look so fun! I didn’t realize you could use the sap. I thought you’d need to boil gallons and gallons of it to get anything usable. I’d love to try this!
Well, it is a 40:1 ratio, so to get a full cup of syrup, you need 2+ gallons of sap. I needed the process a bit smaller to take pictures and manage the kids, so that’s why I only did a gallon in this particular batch.